Managing Drives
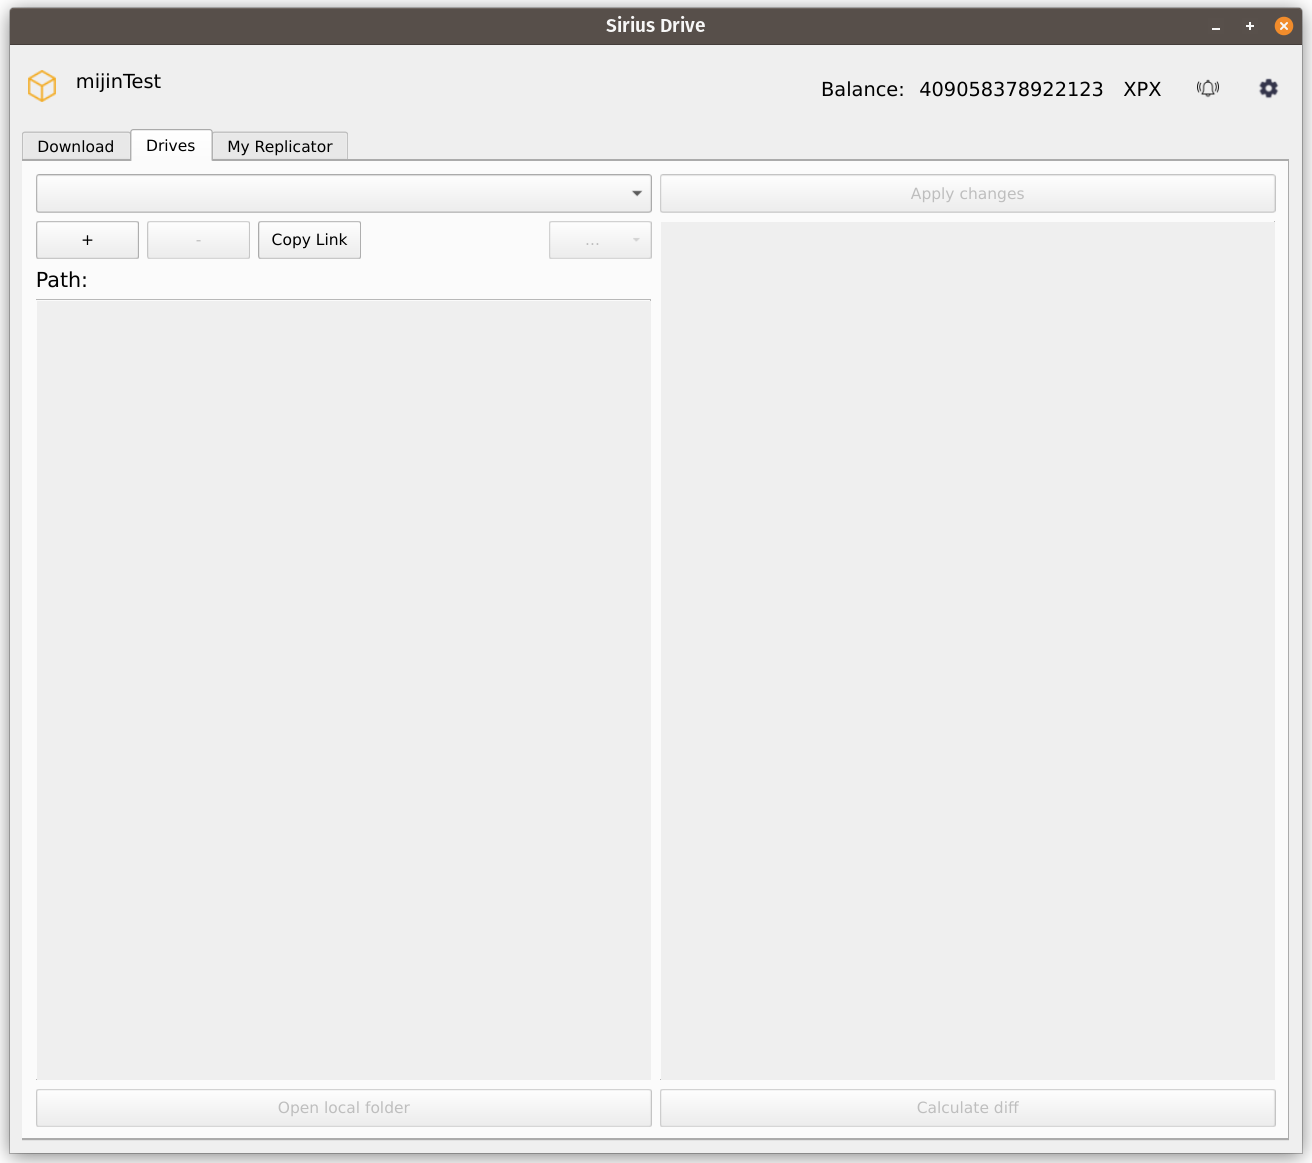
Creating, removing, and performing other operations on your Drives (such as topping-up, changing local directory, renaming etc.) is done on the Drives tab of the User Application.
Creating a New Drive
To order a creation of a new drive, click the [ + ] button in the upper left part of the window. A new dialog box will appear, prompting you to specify the required data for the new drive:
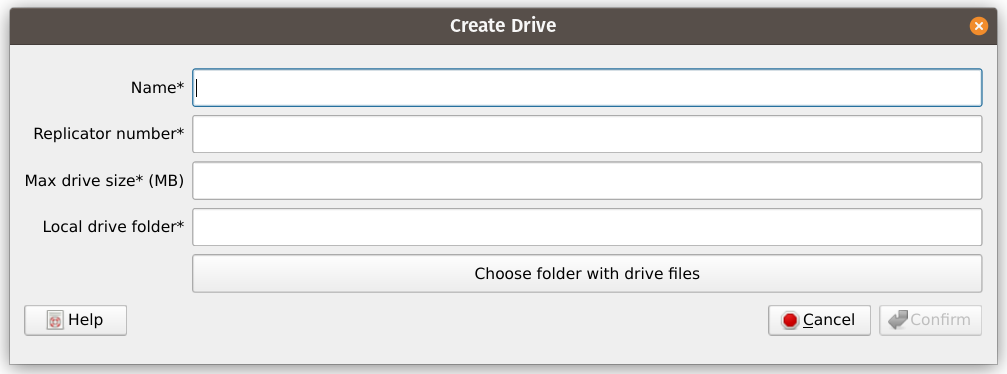
Nameis a human-readable name of the drive. It must be no longer than 40 characters and may only contain alphanumericals and underscores (A–Z,a–z,0–9, and_). This name is only stored locally, and you will be able to rename the drive later at any moment.Replicator numberis the desired number of Replicators that will store your data. If you are not sure, it is recommended to set this number to 5.Max drive sizeis the capacity of the drive (the maximum amount of data that it will be able to store). Currently it is not recommended to order drives withMax drive sizethat exceeds 200 MB.Local drive folderis a directory where your local drive files will be stored. The contents of this directory will be synchronized with and stored on the Replicators that will be assigned to the drive. You will be able to change this directory later at any moment.
Note
TheReplicator numberandMax drive sizevalues are final. You will not be able to change the number of Replicators, or to shrink or extend an existing Drive. If you ever need to, you will have to order a new Drive with new desired values (and possibly remove the old Drive after that).
Note
Keep in mind that increasing theReplicator numberwill also increase operational costs of the Drive.
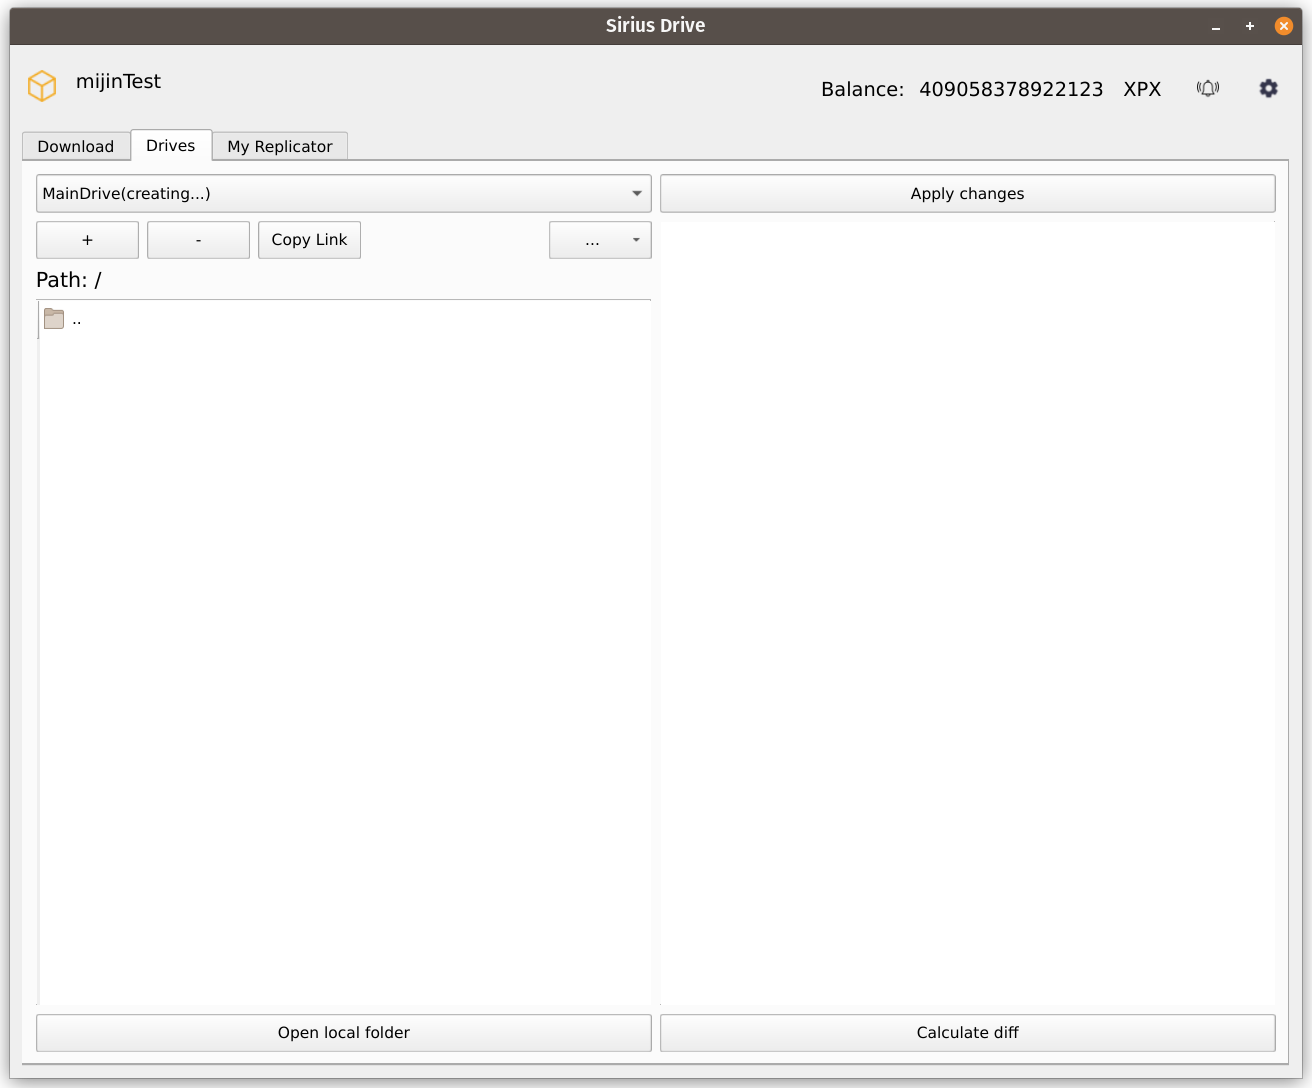
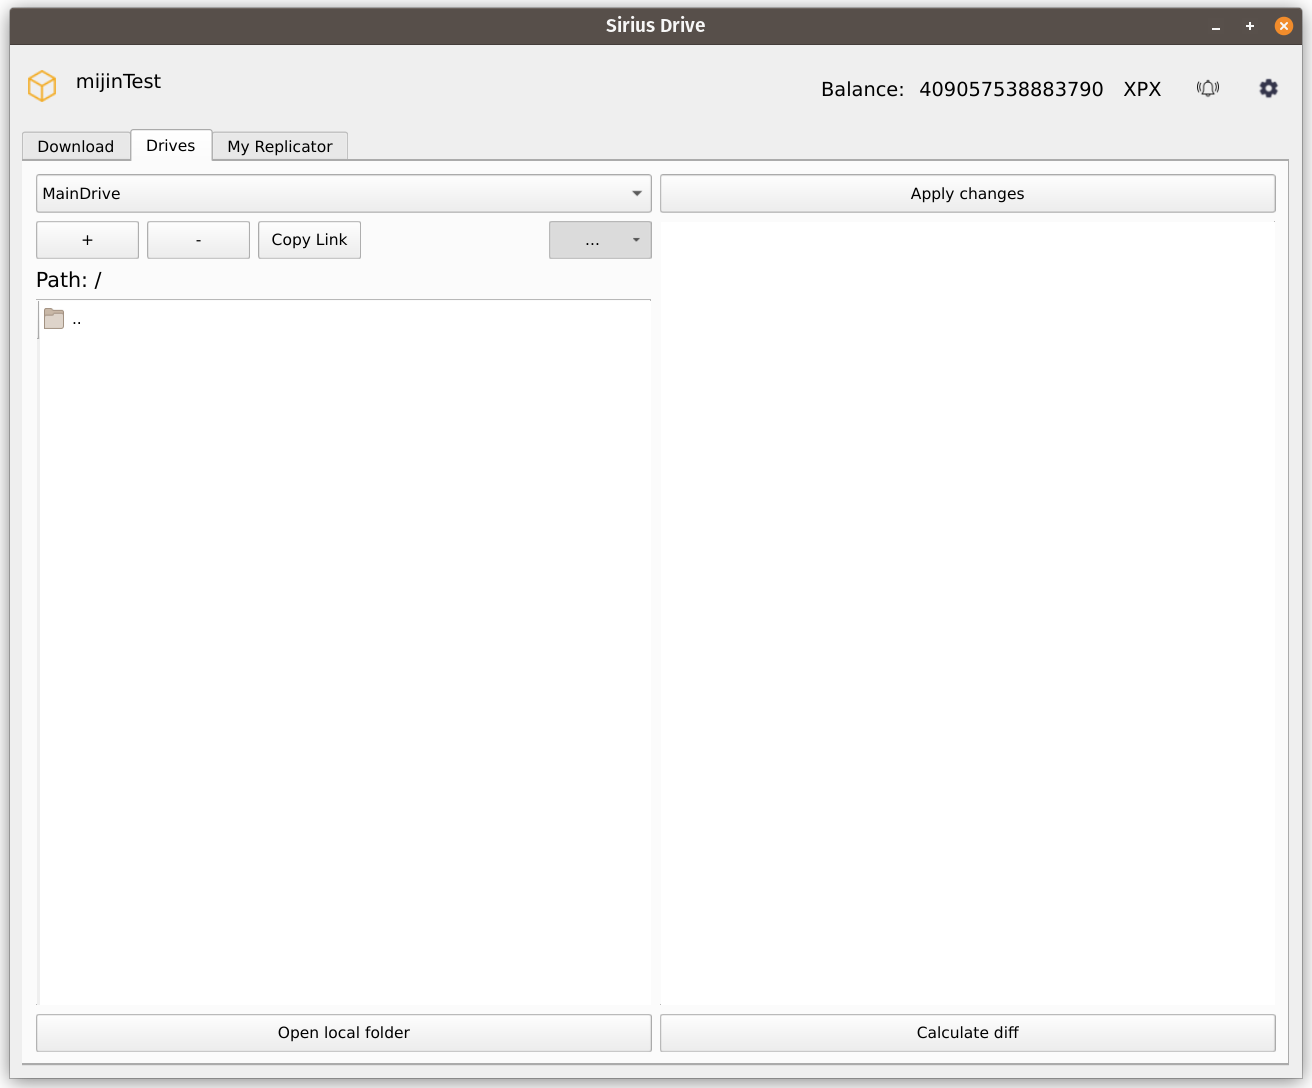
When you are ready, press Confirm to proceed to the creation of the drive. The name of the drive will appear in the drop-down list in the upper left part of the window, indicating that it is now in a process of creation:
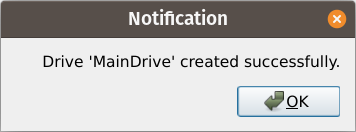
Once the respective transaction is accepted, you will receive a notification stating that the drive has been successfully created:
The main window will now look like this. Note that the name of the drive in the drop-down list now shows without the (creating...) suffix. If there are any files in the local drive folder, they will be also shown on the right side of the window in green color, indicating that they exist locally, but are not stored by the Replicators yet. See Drives Tab Interface Overview for more details.
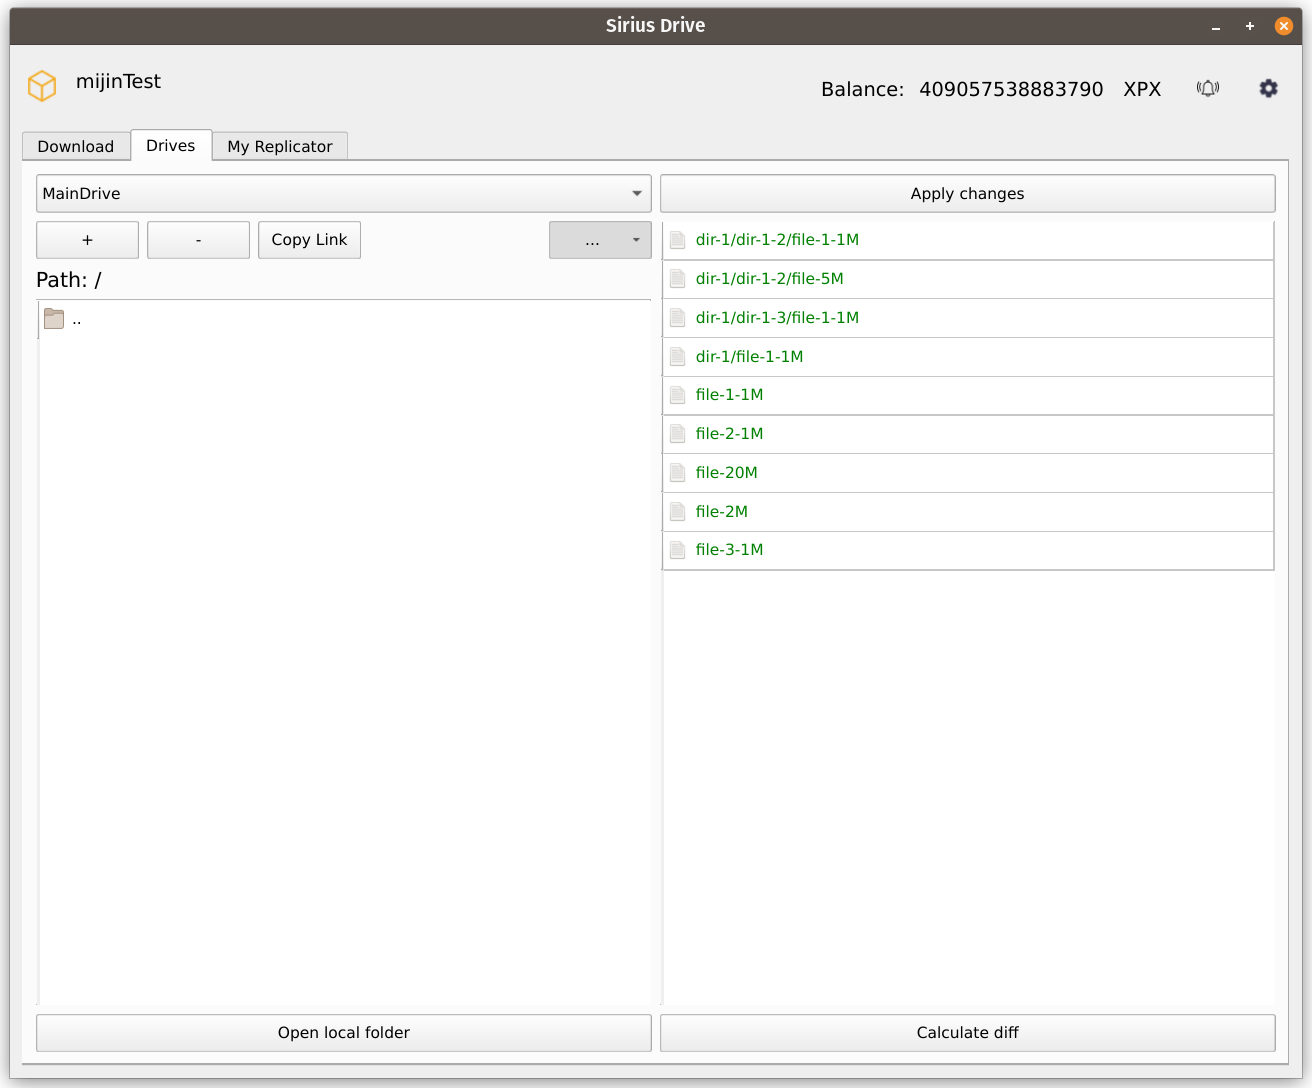
At this point, the Drive is fully prepared for use.
If you have several drives, you can switch between them using the drop-down list. Whenever a new drive from the list is selected, the rest of the window is updated correspondingly to reflect the current state of the selected drive.
Removing an Existing Drive
Note
Removing a Drive involves sending a transaction. Make sure that you have enough XPX to be able to pay for it.
Removed Drives CANNOT be restored in any way. This is an irreversible operation.
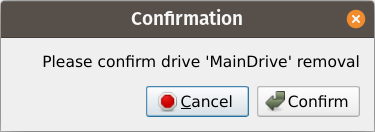
To remove an existing drive, first select it from the drop-down list in the upper left part of the window, click the [ – ] button below the list, and then click the Confirm button in the dialog box that will appear:
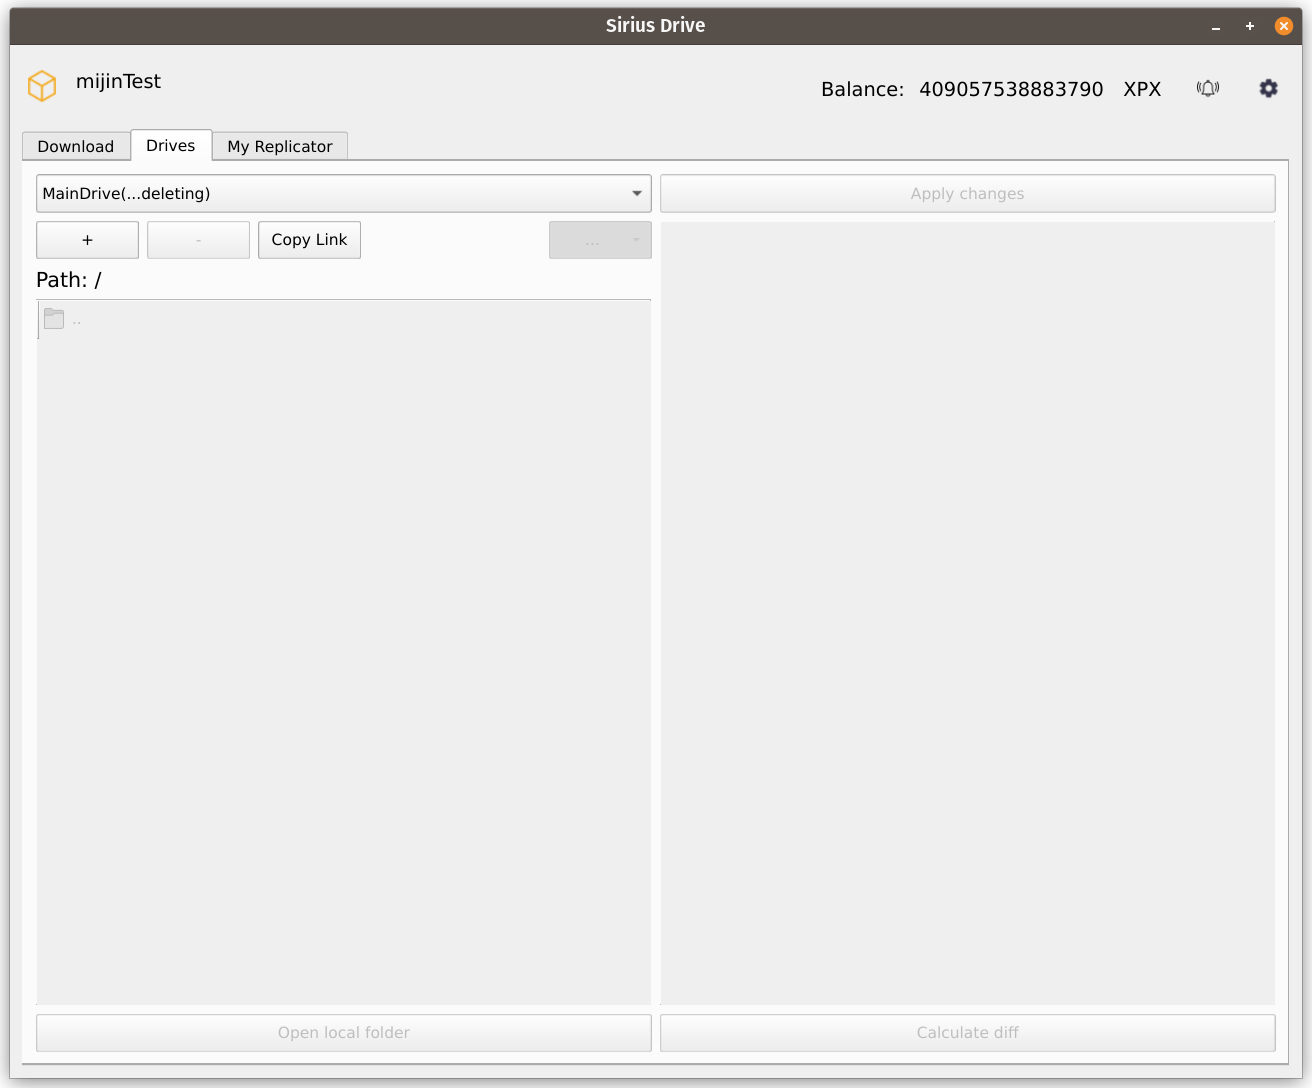
The status of the Drive will update in the drop-down list, indicating that it is being deleted:
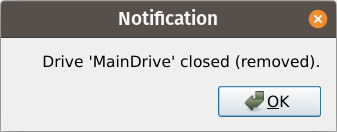
After the operation is completed, you will receive a corresponding notification:
Miscellaneous
Renaming a Drive
You can rename any of your Drives at any moment. To do this, select the Drive you want to rename in the drop-down list in the upper left part of the window, then click the [ ... ] button below and select Rename. In the dialog box that will appear enter a new name of the selected Drive:
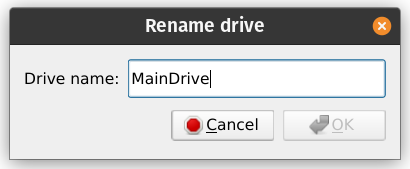
Click OK when you are ready. The Drive will be renamed instantly.
Note
Drive names are stored locally and do not require sending a transaction. Because of that, Drive renaming is instantaneous and free, but the names will not be synchronized between the instances of the User Application on different devices.
Changing a Local Folder
To change local drive folder of a selected Drive, click the [ ... ] button and then select Change local folder. You will be prompted to select a new local folder for this Drive.
As soon as the new local folder is selected, the right part of the window will update correspondingly, reflecting the changes between the state of the new local folder and the data that is stored by the Replicators.
Topping Up a Drive
To top up any Drive (including yours), click the [ ... ] button and select Top-up. A new dialog box will appear:
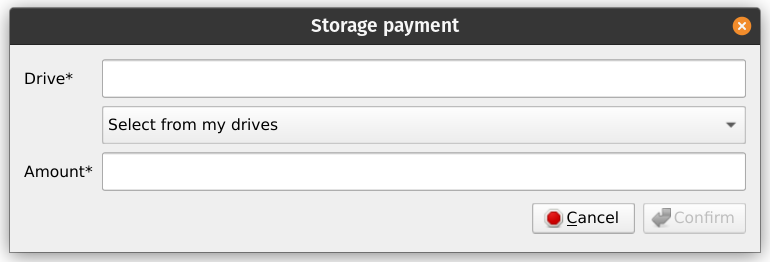
Driveis a key of a Drive that you want to top up. If you want to top up one of your Drives, you can click the drop-down list below this field and choose the Drive. This will automatically fill in this field with the respective Drive key.Amountis an integer amount of XPX that you want to transfer from your balance to the selected Drive.
Click Confirm when you are ready.
Topping-up will be completed shortly after this. Upon its completion you will receive a following notification:

Copying Drive Key
To copy a key of the selected Drive, click the [ ... ] button and select Copy drive key. This will copy the key of the Drive to the clipboard.
Showing Drive Info
To show information about the selected Drive, click the [ ... ] button and select Drive info. This will show a new dialog box showing the Name of the Drive, Replicator number, Max drive size and Local drive folder. All of these fields are copyable.
Copying Download Link
To copy a link that can be later used for adding a download, select an element (a file or a folder) in the left part of the window to which you want to create a link, and then click Copy Link button in the upper left part of the window. Selecting [ .. ] will create a link to the directory you are currently in.
When you click Copy Link, a new dialog box will appear showing information about the download link that is being created:
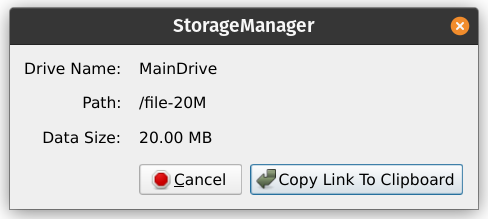
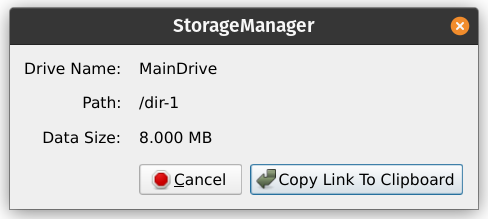
Drive Nameis the name of the Drive from which a file or a folder will be downloaded.Pathis the path to the downloaded element relative to the root of the Drive.Data Sizeis the total size of the downloaded element.
If you choose to copy a link to the whole Drive (this is done by selecting [ .. ] while being in the root of the Drive), an extended dialog box will show:
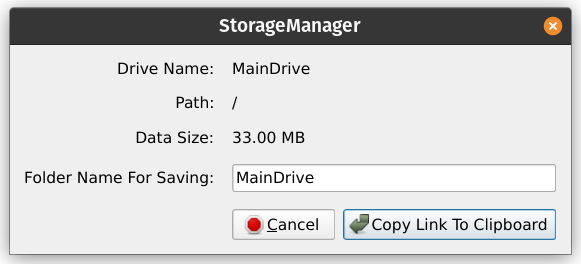
Folder Name For Savingis a directory name that will be created within your Download Folder (see Settings). The contents of the Drive will then be stored in this directory when the download is completed. This name is encoded in the download link and CANNOT be changed later.
Clicking Copy Link To Clipboard will generate a link and copy it to the clipboard. This will also close the dialog box. This link will now be ready to be pasted when creating a new download.